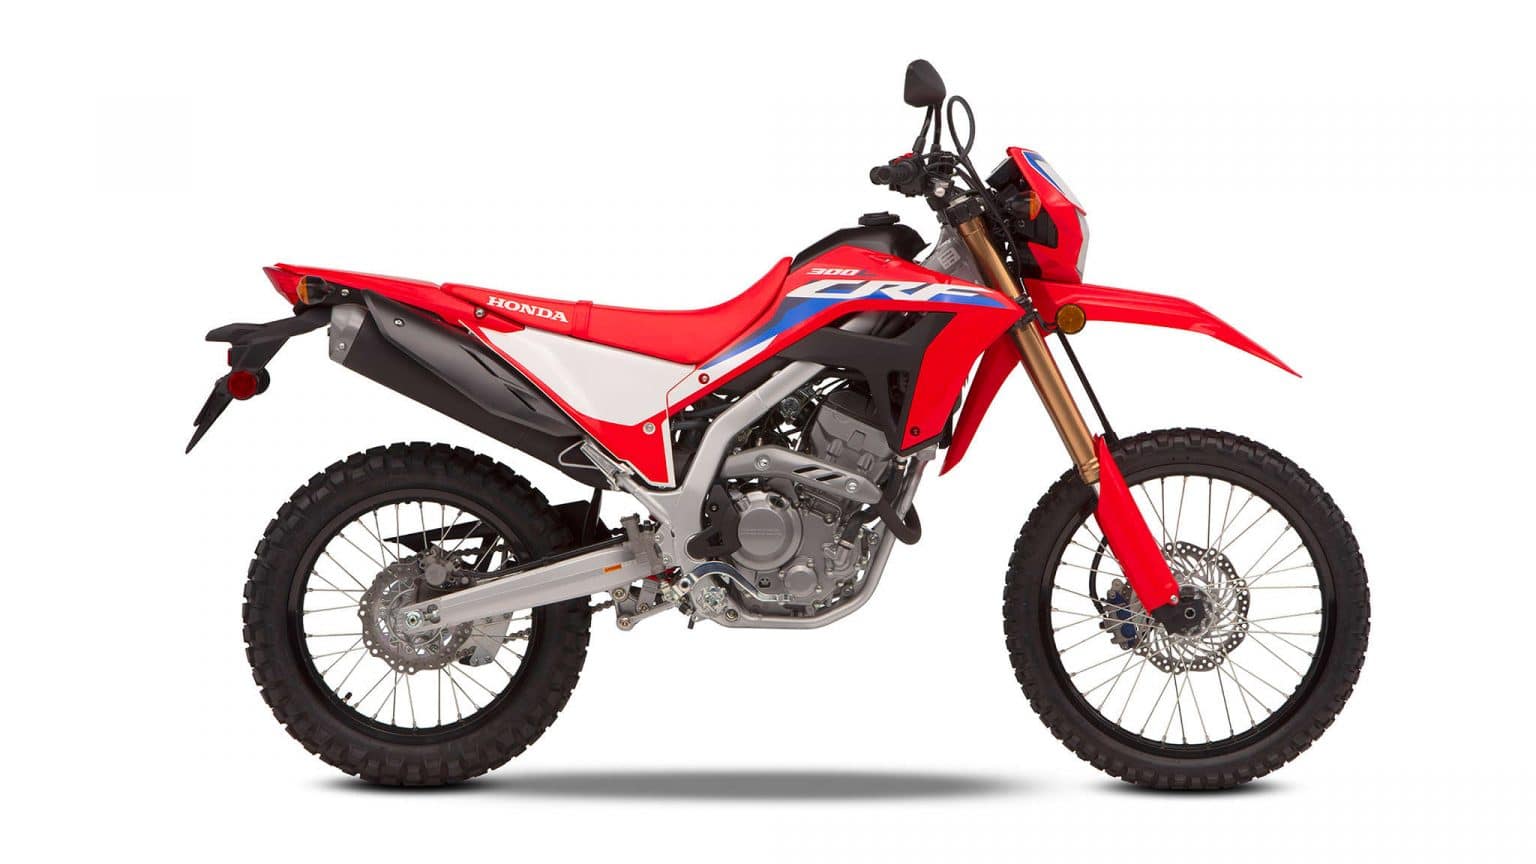
Honda XR150 Maintenance
Before heading out on your Honda XR150 it is very wise to carry out a Pre Ride Inspection. RentABike do this before and after every rental. You should, too.
Honda XR150 maintenance is absolutely essential in order for the safe operation of the bike. At Rentabike, we service all our rental bikes before and after they are returned. They look for any issues and fix them immediately. However, whilst you are renting a bike, you need to make daily checks and try to prevent any problems developing. It IS your responsibility to look out for any potential problems. This is both for your safety and for the smooth operation of the bike.
If you would like to rent one of our Honda XR 150s then this is where you will find them.
Important note: You MUST contact the owner of the bike (Rental Firm) BEFORE any work is carried out. Hopefully, they can talk to the mechanic to check that the work is required, that the parts to be used are correct and that the cost is also accurate. This is a win win situation as it helps to avoid disputes and maximize safety. It can also mean that you don’t have to pay for the work done and you will be reimbursed.
Before Performing Maintenance Checks
- Stop the engine and remove the key.
- Ensure the bike is on firm, level ground and well-supported.
- Allow the engine, exhaust and any other hot parts to cool before you begin.
- Make sure the area is well-ventilated, particularly if you are going to run the engine.
These are quite simple and common sense but don’t forget them. Many an accident has happened because of overlooking simple things like these.
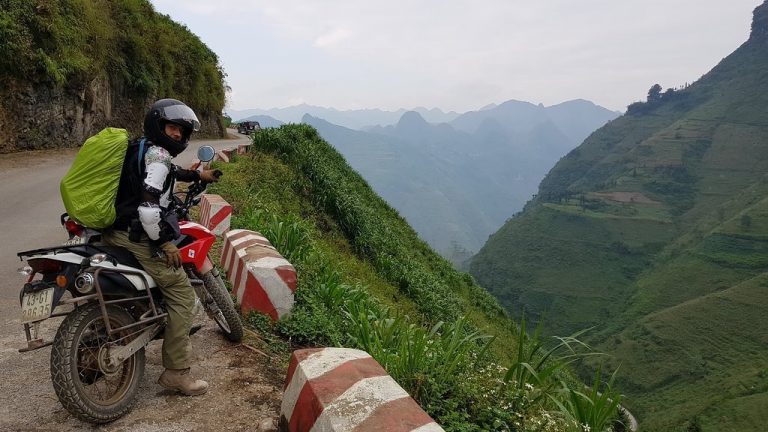
Before Getting on the Bike
Fuel Level
- There is no fuel gauge on the bike so you will need to open the fuel fill cap and look inside the tank to see the level. Alternatively, you could just rock the bike gently and listen for the fuel. In fact, if you do this and then open the fuel cap and check the level, you will become accustomed to relating the sound and the amount of fuel in the bike.
- The bike is designed to run on unleaded fuel, 91 Octane or higher. In Vietnam 92 fuel is widely available.
- The tank capacity (including reserve) is 12.0L. The reserve capacity is 3.5L.
- If you need to switch to reserve tank, remember to reset the fuel valve switch IMMEDIATELY after filling.
Throttle
- Check for smooth operation and full closing in all steering positions.
- If the throttle does not move smoothly, close automatically, or if the cable is damaged. It will need to be worked on or replaced by a mechanic.
Engine Oil
Checking the Level
- If the engine is cold, let it run on idle for 3 to 5 mins.
- Make sure the bike is on a flat surface and is upright.
- Turn the engine off and then wait for 2-3 mins
- Remove the oil dipstick and wipe it clean.
- Insert the dipstick but DO NOT screw it in. Let it rest in please.
- Remove the dipstick again and check that the oil level is between the upper and lower limits.
- If all is well, screw the dipstick firmly back in place.
Adding Oil
- Remove the dipstick. Add the recommended oil until it reaches the upper level mark.
- Make sure the bike is on a level surface when filling.
- Do NOT fill over the upper level (this will damage the bike)
- Make sure no dirt or foreign objects enter the oil case.
- Wipe up any spills.
- Secure the dipstick.
Check for Leaks
Usually this can be done, after the bike has been standing overnight. Simply check the floor.
Add engine oil if necessary
Drive Chain
- Check the condition and amount of slack along several points in the chain. If the slack is not even, then there may be kinks in the chain. It may need replacing.
- There should be between 20 – 30mm of vertical movement in the chain. More than this means that the chain needs adjustment. Do not ride the bike if there more than 50 – 60mm of slack.
Brakes
- Front – check fluid level and pad wear
- Fluid level can be easily checked on the brake fluid reservoir on the right-hand side of the bike.
- So long as the fluid level is between the upper and lower limits, and the freeplay in the lever is acceptable, all is fine. If the freeplay is excessive, you may have a leak or the brake pads are worn
- Brake pad wear can be easily seen by looking at the brake pad wear indicator on the brakes themselves.
- Rear – check freeplay and shoe wear
- The freeplay can be adjusted to suit by moving the adjusting nut on the Brake are. Moving this, half a turn at a time, will increase or decrease the freeplay.
- Shoe wear can be seen on the brake panel. If the reference mark and arrow align when the brake is applied, the brakes need to be changed.
Lights and Horn
- Simply check to see that all lights and the horn function correctly.
- Replace any that are not working.

Clutch
- Check to see that the clutch operates smoothly.
- Adjust the amount of freeplay if necessary
- This can be done at the upper adjustment near the lever itself, initially
- If further adjustment is needed the lower adjustment, near the engine case can be used.
Wheels and Tyres
Riding on tyres that are worn or incorrectly inflated can cause loss of control and an accident. Therefore, a quick check of the general condition and air pressure is a good idea.
- Look for any foreign objects embedded in the tyre, as well as bulges, rips or tears in the tyres.
- Make sure there is enough tread on the tyres.
- Min Tread Depth
- Front – 3.0mm
- Rear – 3.0mm
Air Pressures
This must be checked when the tyres are COLD.
Driver only: Front 22psi
Rear 22psi
Driver and Pillion: Front 22psi
Rear 29psi
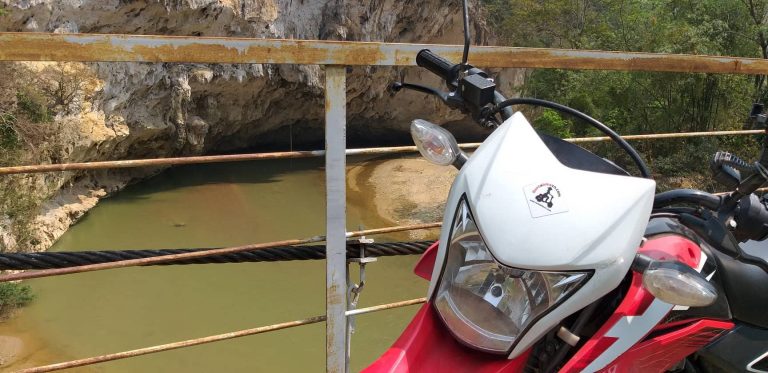
Pre Ride Inspection (offroad)
Spokes
- Check to see all spokes are tight, not loose and are straight.
Fuel Cap
- Make sure the fuel cap fastens securely and no fuel leaks out.
Loose Cables
- Make a quick inspection of the bike to see if any cables are loose or need tightening.
Nuts, Bolts
- Make a quick inspection of the bike to see if any cables are loose or need tightening. Use a wrench to fasten all accessible nuts, bolts and fasteners.
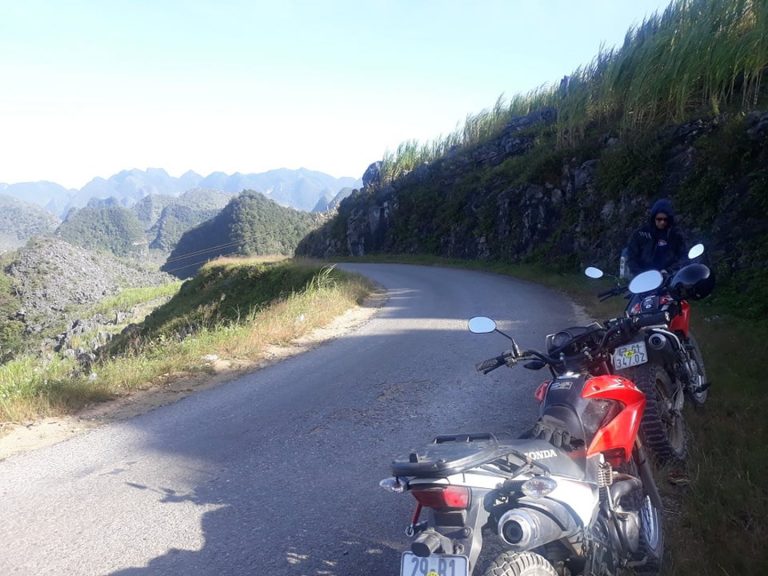
In a Nutshell
Carrying out the above checks before you ride and at regular intervals during your trip will reduce the risk of any breakdowns or accidents. This is not a guarantee that nothing will happen but rather a preventative measure that reduces risk. Whilst driving and on tour you need to remain vigilant to strange sounds or feeling of operation of the bike. If you notice anything that seems irregular you should call us to check and allow us to help you find the nearest reliable assistance.
Rentabike does all of this for you both before and after every rental, so if you would like to rent one of our Honda XR150s, take a look here and get in touch.
Remember: If you are renting a bike DO NOT have any maintenance work or repair carried out on the bike unless it has been specifically authorized by the owner. They know the bike and its maintenance schedule. They also know the availability of parts and the correct costs. Work with the rental firm to create a win win situation. They are useful and can help out a lot over the phone so use them.
Source: Honda XR150 Owner’s Manual
